Struggling to find content to share on your social media pages?
Stop scrolling through Instagram and Facebook. All you need is REALTOR.ca.
Our consumer lifestyle blog, Living Room, offers content including home improvement, market trends, DIY projects, neighbourhood guides and profiles on unique homes. Living Room publishes exciting new content four times a week (with unique French content for our Francophone fans).
While CREA Café is curated specifically to help your business grow and thrive, Living Room content is perfect to share with your clients.
Owned and operated by the Canadian Real Estate Association (CREA), REALTOR.ca is the No. 1 real estate platform in Canada (Comscore, 2020) with MLS® System listings from across the country.
Share this blog with your clients and followers with the Facebook button below!
You can also follow REALTOR.ca on Twitter, Instagram and Pinterest.
You can read the original blog here.

If you’re an avid—or aspiring—DIY-er it’s only a matter of time before dreams of building your own deck make their way to the forefront of your mind. It’s an excellent summer project and the perfect opportunity to flex your building skills, producing results you can be proud of for years to come. But, before you start cutting any boards there’s a lot to consider and plan for in this sizable undertaking.
1. Plan
First, determine the purpose, size and location of your deck. Do you wish to host epic dinner parties, accompany a future above-ground pool, compliment some expertly placed water features, or simply create an ideal lounge space? Check your property’s zoning to determine requirements and limitations on placement, clearance and height. You should also request service locates for your property to ensure you don’t accidentally sever any buried cables or puncture gas and water pipes when digging.
2. Experience
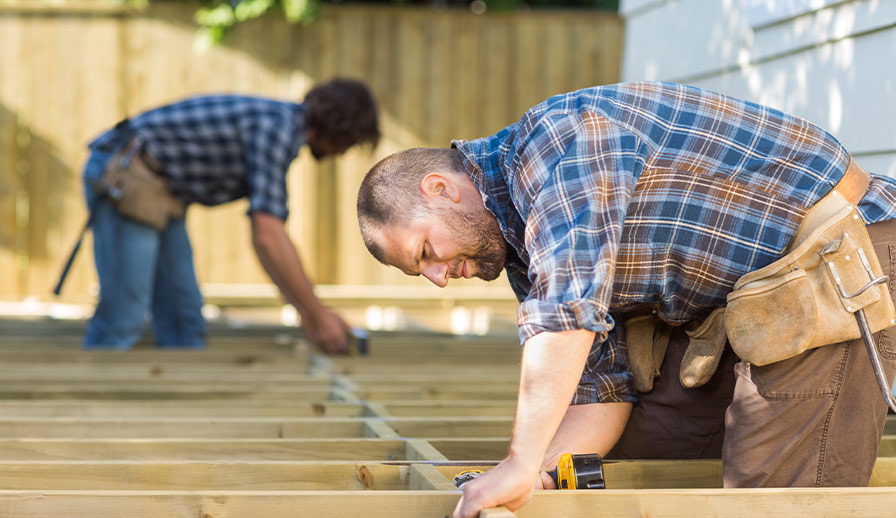
This is undoubtedly a complex project with many details and steps, so before you go any further, it’s important to understand whether or not you have the skill and/or experience necessary to complete this project on your own. If there is any doubt in your ability to perform the work, we recommend bringing in a professional, both for your peace of mind and safety.
3. Budget and design
Here’s where you’ll get into the nitty gritty details of your project. Armed with the information from your zoning, draw up some blue-prints (or site plan) and then calculate how much cement, wood (or composite or vinyl), screws or nails, and weather-proof stain you’ll need. This gives you an idea of your budget based on how many materials you’ll need. If you’re not a fan of taking pencil to paper for your plans, these free deck design apps might be helpful. Just keep in mind if you (the homeowner) do not design the deck yourself, the designer must have a Building Code Identification Number (BCIN).

4. Materials
Materials may vary depending on the purpose of your deck and how much time and money you wish to invest initially and for long-term maintenance. The most widely used materials for decks are:
- Pressure treated wood;
- Redwood or cedar;
- Composite;
- Vinyl; and
- Aluminum.
Pressure-treated wood is a cost-efficient—and most popular!—option, but requires more care and ongoing maintenance. If you spend the extra money for cedar or redwood, which are naturally resistant to rot and insects, make sure to use the denser heartwood to ensure a consistent grain and to reduce the risk of warping. Composite is more costly than wood and provides far more durability and is resistant to rot, insects, and warping. Two increasingly economical options are vinyl and aluminum, both of which come in an array of wood finishes and never need staining or replacing. Aluminum is also a good option as it doesn’t retain heat like other materials.
5. Foundations
Before going any further, make sure all underground utilities have been clearly marked! If you haven’t done this yet, request a utility locate before digging your foundations (also called footings), this will save you some serious headaches. It’s also important to ensure your footing depth reaches below the frost line to prevent frost heave and avoid costly damage to both your deck and home. Frost lines vary depending on where in Canada you live, but you should expect a minimum of four-feet deep. This information should be available when you check your zoning, or your province and municipality will have it included in their building codes.
6. Extras
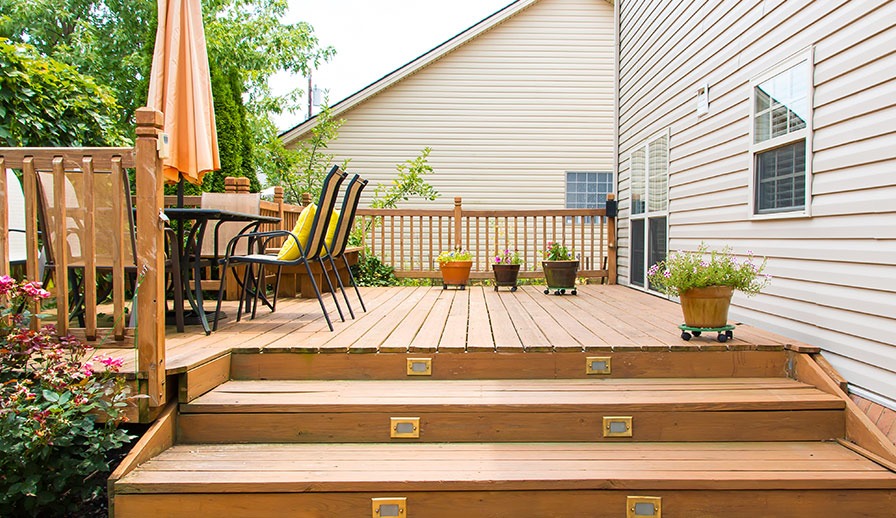
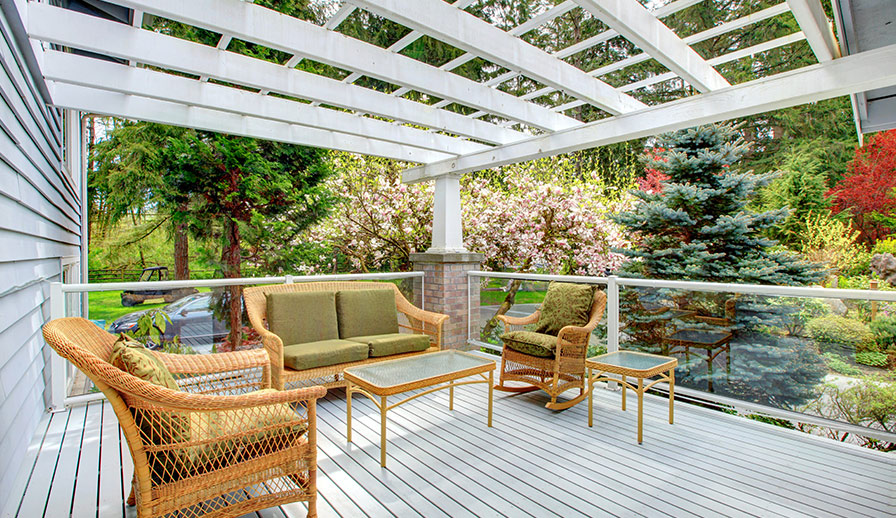
If you wish to further elevate your backyard retreat, then plan your deck’s extras early and include those elements with your site plan when applying for your permit. For outdoor entertaining, recessed LED deck lights, lamp posts, inline benches or even a full outdoor kitchen are excellent choices. Is your plan to create a quiet peaceful space to chill with family? Then consider privacy fencing instead of classic railings, or perhaps some permanent gazebo posts so you can create a bug-free space for outdoor movie nights. If you’re handy with masonry, then an outdoor fireplace could make the perfect finishing touch—check your municipal bylaws for any restrictions first.
7. Permits
Now that you’ve determined your budget, materials, design and site plan, it’s time to take all this information and apply for a building permit. This is key, because no matter how small or insignificant the work may seem, any type of construction requires a building permit. Every municipality will have their own requirements for a permit application, so it’s best to be as comprehensive as possible when planning your project.

Though designing and building your own deck requires a great deal of planning and work, it can be one of the most rewarding DIY projects. While a possible boost to your property value is always welcome, you can’t put a price tag on the years of joy and satisfaction from something you built with your own two hands.


